Image Crop Tool
Upload an image, adjust the crop area, then download the result. Supports rotate, flip, zoom, and preset aspect ratios.
Drag & drop an image here or click to browse
JPEG, PNG, WebP, GIF, or use the default sample image below
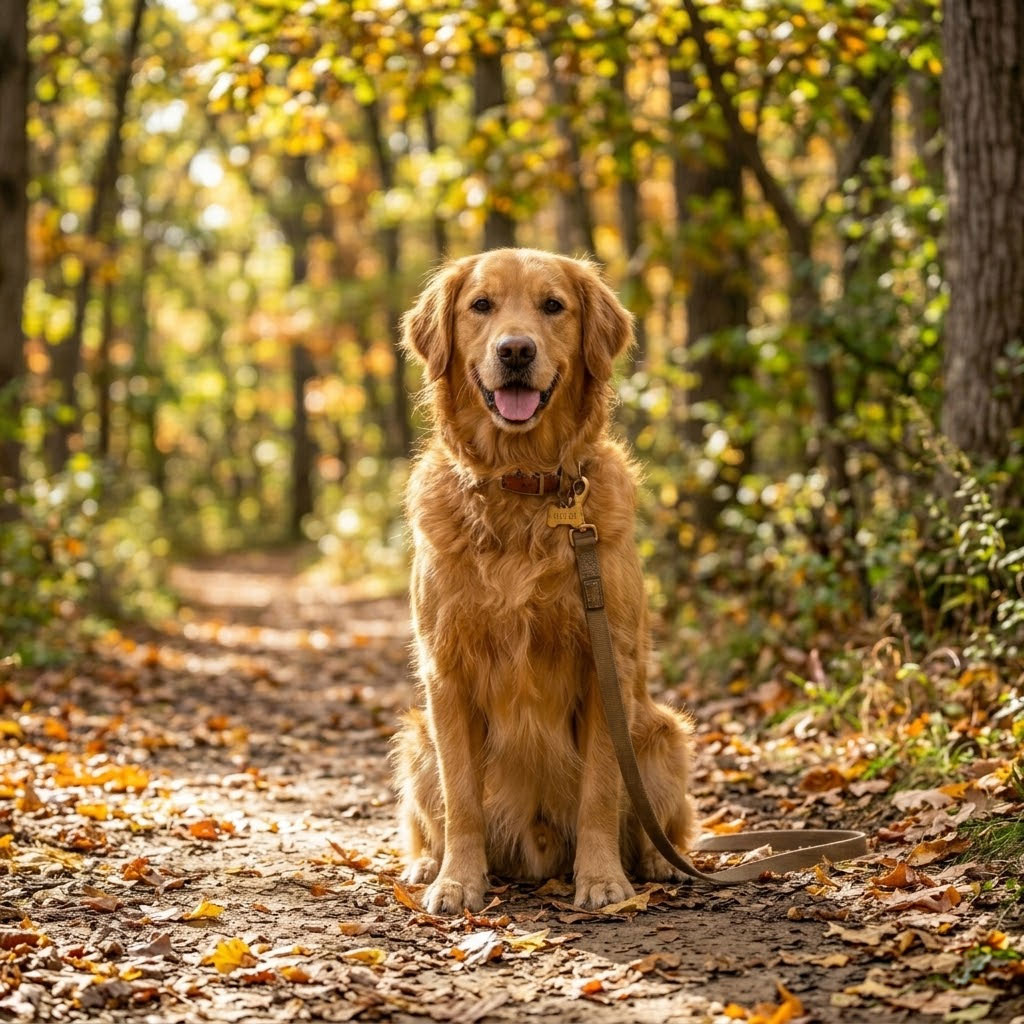
Preview
Crop Data
X
Y
W
H
Ratio
This free image cropper lets you cut a photo down to the exact area you want, right on the page. Upload a JPEG, PNG, WebP or GIF, choose a ratio such as 16:9 or 1:1, adjust the crop box, then download the result. It suits bloggers, marketers and anyone who needs a clean crop fast.
What Is Image Cropping?
Image cropping is the process of removing the outer parts of a picture so that only the area you want to keep remains. The result is a smaller canvas with a tighter focus, a different shape, or both. Cropping changes which pixels are kept, so it is different from resizing, which keeps the whole picture and changes its dimensions.
Every crop has two measurements: a position and a size. The position is where the top-left corner of the crop box sits, counted in pixels from the top-left corner of the original image (X and Y). The size is the width and height of the box (W and H). If you crop a 4000 x 3000 photo to a box 3000 pixels wide and 3000 pixels tall, you keep 3000 x 3000 pixels and discard the rest.
Cropping serves three common goals: improving composition, matching a required shape (an aspect ratio), and removing distractions such as stray objects, borders or personal details at the edges.
How to Use the Image Cropper
You can crop an image in a few steps, and the preview updates as you work.
- Drag and drop a file onto the box that says "Drag & drop an image here or click to browse", or click it to pick a file. You can also press Upload Image. A sample image is loaded by default so you can try the controls first.
- Pick a shape under Ratio: 16:9, 4:3, 1:1, 2:3, or Free for any rectangle you like.
- Drag the edges or corners of the crop box to resize it, and drag the box itself to place it. Use the Move mode to slide the picture under the box, or the Crop mode to draw a fresh box.
- Fine-tune with Zoom In, Zoom Out, Move Left, Move Right, Move Up and Move Down. Use Rotate Left, Rotate Right, Flip Horizontal or Flip Vertical if the photo needs straightening or mirroring.
- Check the Preview panel and the Crop Data readout (X, Y, W and H) to confirm the area.
- Press Crop & Download. A "Cropped Image" window opens with the result. Choose Download to save it, or Close to keep editing. Reset puts everything back to the start.
Worked Example: Turning a Wide Photo Into a Square
Say you have a 4000 x 3000 landscape photo of a coffee cup on a desk, and you need a square image for a social post. Upload the photo and press the 1:1 ratio button. The crop box becomes a square. The largest square that fits inside 3000 pixels of height is 3000 x 3000.
Drag the box until the cup sits slightly off-center and the desk clutter on the far left falls outside the frame. The Crop Data panel might now show X 700, Y 0, W 3000 and H 3000. That tells you the box starts 700 pixels from the left edge, touches the top, and keeps a 3000-pixel square. After you press Crop & Download you get a 3000 x 3000 image. Run it through the image resizer if the platform wants 1080 x 1080.
Which Ratio Should You Choose?
The right aspect ratio is the one the destination expects, because platforms that receive the wrong shape will crop it for you, often badly. These widely used shapes match the presets in the tool.
| Ratio | Common use | Typical size |
|---|---|---|
| 16:9 | Video thumbnails, blog headers, slides | 1280 x 720 |
| 4:3 | Classic photos, presentations | 1600 x 1200 |
| 1:1 | Profile pictures, square feed posts | 1080 x 1080 |
| 2:3 | Portrait prints, tall pin images | 1000 x 1500 |
Choose Free when you need a shape that is not on the list, such as a banner or a tight crop around a product. The tool crops rectangles only, so circles and irregular outlines are not available. For a round avatar, crop to 1:1 here and let the website apply the circle.
How to Read and Act on the Results
The Preview panel and the Crop Data readout together tell you whether the crop is ready. The preview shows what you will download, and the numbers show exactly where it comes from.
What the Crop Data Values Mean
- X and Y: the distance in pixels from the image's top-left corner to the crop box's top-left corner.
- W and H: the width and height of the crop in pixels. These approximate your output size.
- Rotate and scale values: they show how far you have rotated the image and whether it is flipped.
The values are display-only, so you set the area by dragging rather than typing numbers. Note W and H after each adjustment if you need a specific minimum, such as at least 1200 pixels wide for a hero image.
What a Good Crop Looks Like
- The subject has breathing room. A face cut off at the chin or a product touching the border usually looks cramped.
- The subject sits near a third line rather than dead center when the scene allows it. The crop box shows a faint thirds grid to help.
- The horizon is level. If it tilts, use Rotate Left or Rotate Right, then re-check the box because rotation can shift the visible area.
- The final W and H are large enough for where the image will appear. Stretching a small crop to a bigger size makes it soft.
When Is an Image Cropper the Right Choice?
An online image cropper is the right choice any time you need a quick shape or framing change without opening desktop editing software. Typical situations include:
- Blog and SEO work: trimming featured images to one consistent ratio so a post grid looks tidy, and removing empty space so the subject stays visible in small search and social previews.
- Social media: turning one photo into a square for a feed post and a 16:9 version for a video cover.
- Ecommerce: centering products on consistent frames so a catalog does not jump around.
- Documents and slides: cutting a screenshot down to the one panel you want to show.
- Text extraction: isolating a single paragraph or label before running it through an image to text OCR tool, which often reads a tight crop more cleanly than a whole busy page.
- Color work: cropping to a logo or product area before pulling its palette with a color palette extractor, so the background does not dominate the result.
Best Practices, Common Mistakes and Troubleshooting
Most cropping problems come from choosing the ratio too late or from working on an image that is already too small. These habits avoid them.
Crop First, Then Resize and Compress
Crop before you change the size, because cropping decides which pixels you keep and resizing then scales the survivors. After that, shrink the file with an image compressor so the page loads quickly. Doing it in this order keeps the most detail for the final size.
Pick the Ratio Before You Place the Box
If you draw a free-form box and then switch to a preset, the box snaps to the new shape and may cut off your subject. Select the ratio first, then position the box.
Common Problems and Fixes
- My file will not load: use a JPEG, PNG, WebP or GIF. Other file types are not accepted. If a photo came from a phone in another format, convert it to JPEG or PNG first.
- The crop box will not go where I want: you may be in Move mode. Switch to Crop mode to draw a new box, or use Move to shift the image beneath the box.
- The crop looks tilted after rotating: rotation happens in 45-degree steps per click. Rotate to the closest angle, then reposition the box. Rotating can leave empty corners, so zoom in slightly to fill the frame.
- The result is smaller than expected: the downloaded size follows the crop box, not the original. A box covering half the width gives half the width. Large results are also capped at 4096 pixels on each side.
- The crop is blurry: the source did not have enough pixels for the area you chose. Crop a larger region or start from a higher-resolution file.
- I made a mess: press Reset to restore the box, rotation and flips.
Keep Your Original
The download is a new file, and your original stays on your device. If you may need a different shape later, keep the uncropped photo so you can start again with another ratio.
Limitations to Keep in Mind
This tool crops rectangular areas, and it works on one image at a time. You cannot type exact pixel values, so hitting an exact output size means cropping to the right ratio and then using the resizer. Animated GIFs are treated as a single picture, so do not expect the animation to be preserved. Cropping cannot add detail that was never captured, so a tiny image stays low resolution however you frame it.
If you want to explore related tools, the image editing and optimization category collects the rest of the image utilities on the site.
A good crop turns an average photo into a focused, correctly shaped image in under a minute. Pick your ratio, frame the subject, check the preview and crop data, and download. Upload an image to the image cropper above and try it now.
Frequently Asked Questions
How do I crop an image online with this image cropper?
Upload your picture, choose a ratio or Free, drag the crop box over the area you want, then press Crop & Download. A preview window opens with a Download link. Use Reset if you want to start over.
What is image cropping?
Image cropping means removing the outer edges of a picture so only the chosen area remains. It changes framing and shape, unlike resizing, which keeps the whole image. For example, cropping a 4000 x 3000 photo to a 3000 x 3000 box makes it square.
Which image formats can I upload to the image cropper?
You can upload JPEG, PNG, WebP and GIF files by dragging them onto the drop area or clicking to browse. A sample image is preloaded so you can test the controls before using your own file.
Can I crop an image to a specific aspect ratio like 1:1 or 16:9?
Yes. The Ratio buttons offer 16:9, 4:3, 1:1 and 2:3, plus Free for any rectangle. Choose the ratio first, then place the box, so the shape locks in before you frame your subject.
Why is my cropped image smaller or blurrier than I expected?
The download size follows the crop box, so a smaller box gives a smaller image. Blur means the original lacked enough pixels. Crop a bigger area or use a higher-resolution source. Very large results are capped at 4096 pixels per side.
Is this image cropping tool free and does it need an account?
Yes, the image cropper is free and you do not need to sign in. Upload a picture, crop it and download the result. You can also rotate, flip and zoom before you save.
Report an Issue
Thank You!
Your report has been submitted. We will look into this issue.
Recommended
Explore VPN options
A VPN changes your network exit. It does not guarantee anonymity.
Hide Your IP
Encryption
Network coverage
Popular SEO Tools
Newly Added Tools
Related Tools
- Base64 to Image
- Favicon Generator
- Image Pencil Effect
- Reverse Image Search
- Text to Image
- Placeholder Image
Discover Tools
Marketplace
Build Better Websites with Premium Digital Assets
Themes, plugins, code, video, audio, graphics & more from 90,000+ authors.
Web Development
ThemeForest
Themes
CodeCanyon
Code & Plugins
HTML Templates
Site Templates
WordPress Themes
ThemeForest WP
WP Plugins
CodeCanyon WP
Design & Media
Unlimited Access
Explore Envato Market